
To catalog vinyl records is to write down, for each record, which pressing it is, what condition it is in and where it lives, so you always know what you own. The least painful way takes four steps: decide what to record, add each record by its barcode or catalog number so you get the exact pressing, let an app file them into crates, then move the few that land in the wrong place.
This guide does it with CRATTO. The same approach works on paper or in a spreadsheet; section 2 compares the options.
1. What to record for each record
A good catalog is not the one with the most fields. Get these right first and add the rest later.
| Field | Why it matters | Where to find it |
|---|---|---|
| Artist and title | The basic way to look a record up | Jacket and labels |
| Catalog number (CatNo) and label | An album exists in many pressings; this tells yours apart | Spine, back cover, center labels |
| Country, year and format | Original vs. reissue, Japanese vs. US pressing | Small print on the back, the labels, the Discogs release page |
| Condition | Grade the disc and the sleeve separately, so you can compare or sell later | Your own inspection, on the Goldmine scale |
| Category | Decides which crate it goes in, and so where you look for it | Genre, or the first letter of the artist or album |
For reading catalog numbers and runout codes, see Catalog Numbers and Matrix Codes. For what the grades mean, see the Vinyl Grading Explained.
2. Which tool to use
- A notebook: the simplest start, but slow to search and slow to change. It falls behind as the collection grows.
- A spreadsheet: add any column you like, but you type every field and look up every pressing yourself.
- Your Discogs collection: the most complete pressing data, ideal for confirming a release. But it is a list, not your shelf.
- CRATTO: scan to find the pressing on Discogs, add it to your collection, and it is filed into a crate automatically. You can make the crates follow the way your shelves are arranged.
The steps below use CRATTO. Release data comes from Discogs, so connect a Discogs account the first time.
3. Step 1: Scan and identify the pressing
Tap the scan button in the top-left corner of CRATTO and point the camera at the barcode on the back, or the catalog number on the spine. For an older record with no barcode, you can also choose a photo from your library.
What you get back are candidate releases on Discogs. Before you add one, check the label, year and country against the record in your hands. The scan starts the search; comparing with the actual record finishes it.
If you have already built a collection on Discogs, there is no need to scan it all again: use Import from Discogs to bring in your collection and your wantlist together. Albums in your Apple Music library can be imported too.
Records you want but don't own yet go in Wanted, kept apart from your collection.
4. Step 2: Let Crates file them automatically
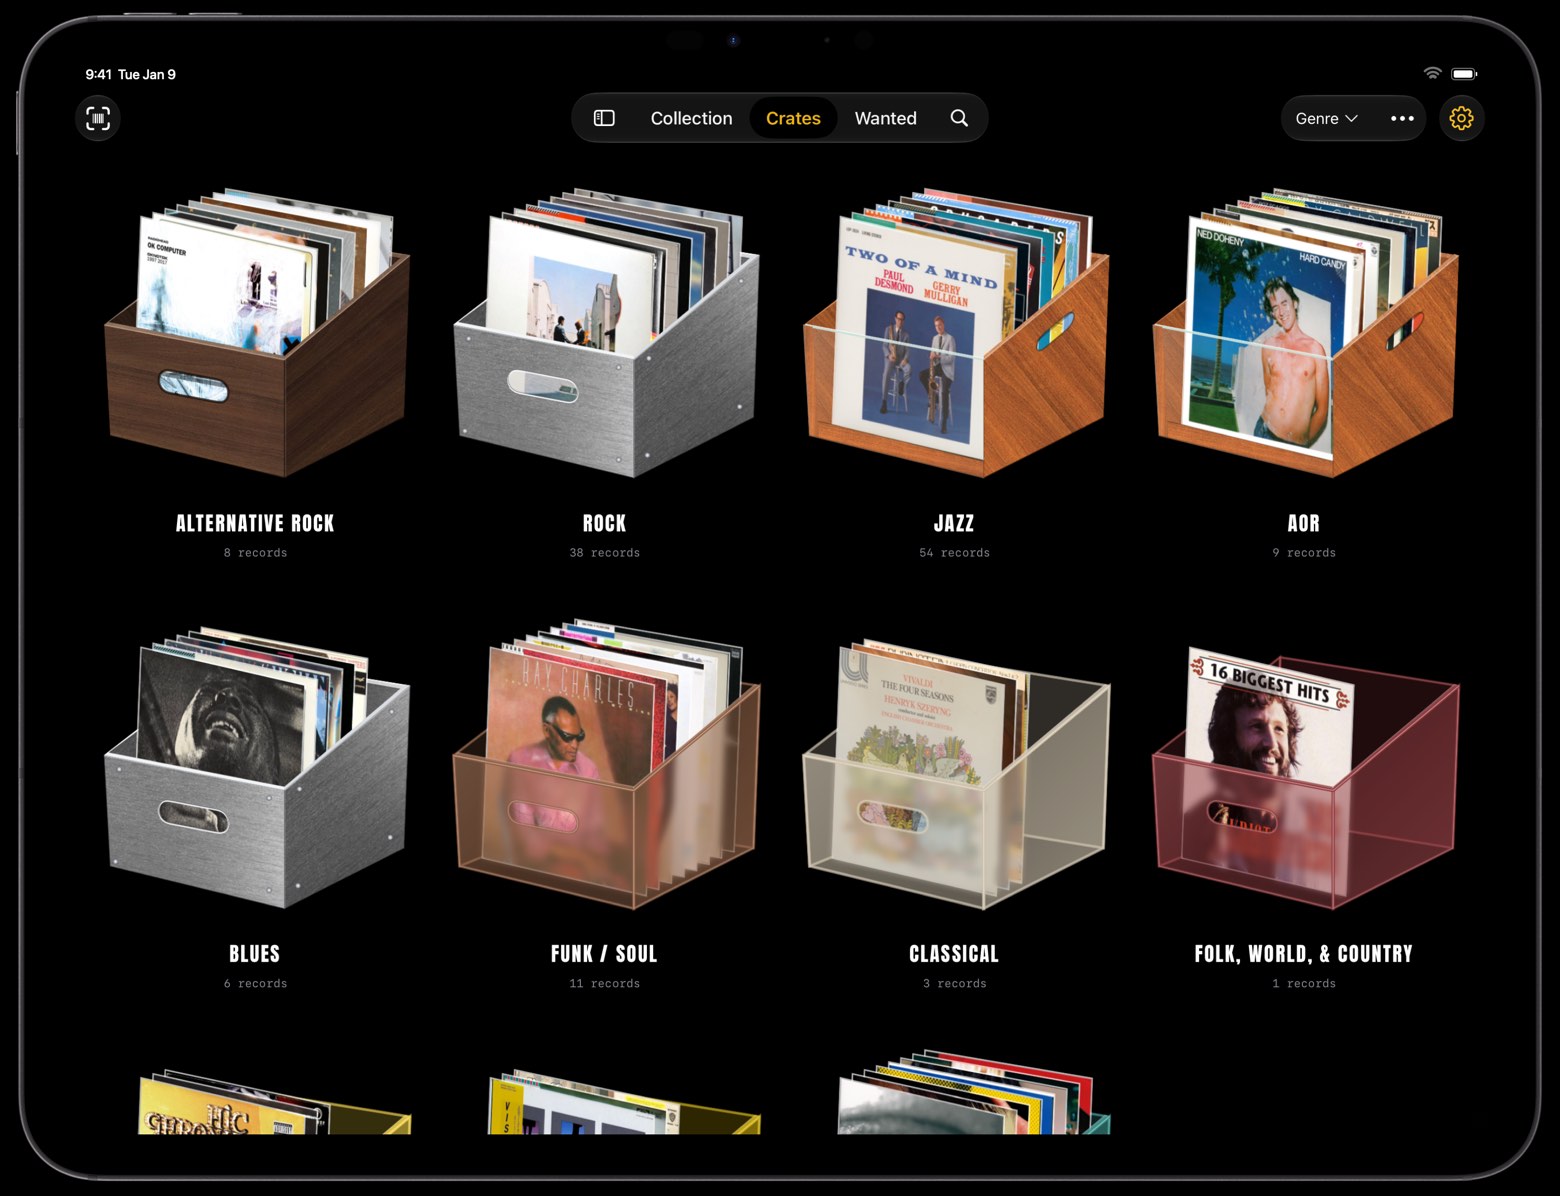
Every record in your collection appears in Crates, filed into crates by the current classification. Switch between three classifications in the top-right corner:
- Genre: files each record by the first genre on its Discogs release, such as Jazz, Rock or Funk / Soul. Records without genre data go in "#".
- Artist A–Z: files by the first letter of the artist's name, then orders each crate by artist.
- Album A–Z: files by the first letter of the album title.
Pick the one that matches how you look for music. If you think "something jazzy tonight", use Genre; if you think of a band first, use Artist A–Z. It works best when your shelves at home follow the same rule as the app. The crate name then doubles as the record's location: if the app shows it in the Jazz crate, it is in the Jazz section of your shelf.
New records go into their crate on their own, so you never have to file them by hand.
5. Step 3: Fix the ones in the wrong crate
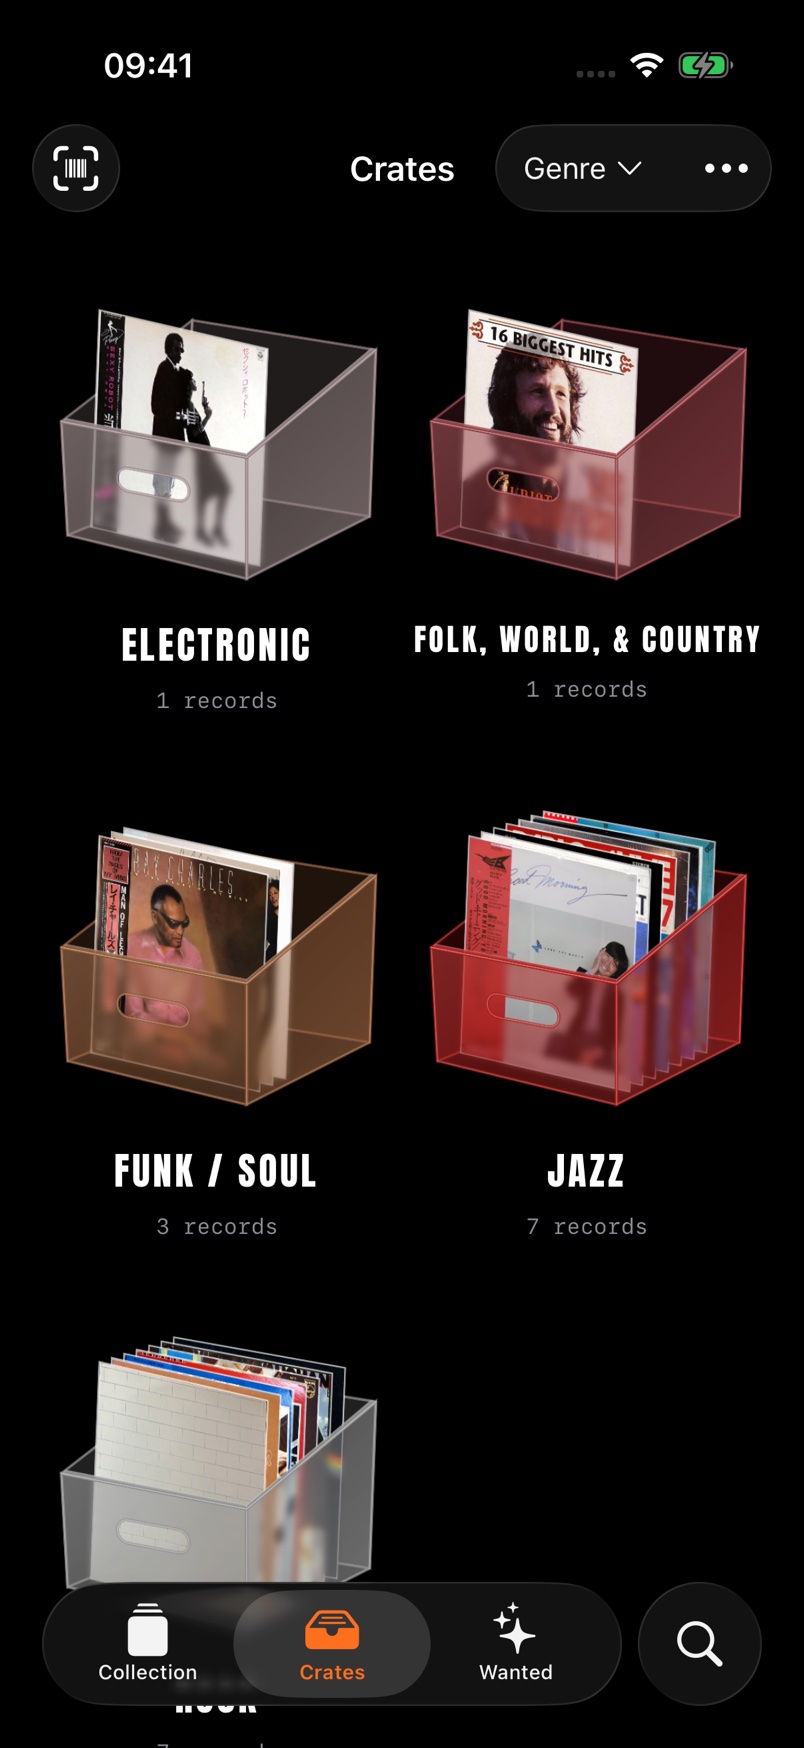
Automatic filing follows the first Discogs genre, so a few records will always land somewhere you would not put them. A Japanese city pop album, for example, may have Funk / Soul or Pop as its first genre on Discogs, while you would rather keep city pop in a crate of its own. That is what the manual tools are for:
- New Crate: choose New Crate from the "⋯" menu in the top-right corner of Crates. Type a name, or pick one from Genres and Styles, which come from your own collection, such as City Pop under Styles. Then add records and choose a crate material: Acrylic, Walnut, Aluminum or Wood + Acrylic. A crate with no records in it is not saved.
- Move one record: open the record's details, tap Move and pick a crate. A place you chose by hand always wins; automatic filing will not move it back.
- Order a crate: open a crate, tap Sort, then long press and drag records into the order you want to flip through them.
- Rename or change the material: use Edit on the crate.
You cannot break anything. Restore Automatic Classification in the "⋯" menu resets only the manual changes in the current classification, and no records are deleted. Manual changes are kept separately for each classification: what you arranged under Genre is untouched when you switch to Artist A–Z, and still there when you switch back.
6. Keep the catalog and the shelf in step
A catalog fails when it is built once and then forgotten. One small routine is enough:
- Scan new records the day you bring them home, confirm the pressing and grade them.
- See which crate each one lands in and put it in the same section of your shelf. If it is wrong, move it in the app; do not let the app and the shelf disagree.
- When you move a record on the shelf, move it to the matching crate in the app too.
For dividing the shelf itself and storing records upright, see How to Organize Your Vinyl Collection.
Once it is done, the catalog is more than a list. Open Crates, flip to a crate you have not opened in a while and put one of those records on the turntable.